How to Install Crisp Chat on a Shopify Remix App Template

When I first started integrating Crisp's live chat into my Shopify app built with Remix, I quickly realized that while Crisp’s documentation is solid, it mostly focuses on HTML integration or specific partner platforms. There wasn’t much guidance for those working in the Remix or React ecosystem. So, after a bit of trial and error, I figured out the most straightforward way to do it—and I’m excited to share that with you.
Prerequisites
Before we dive in, here’s what you’ll need:
- A Crisp account (it’s free to get started).
- Your Crisp website ID can be found in your Crisp dashboard.
- A Remix-based Shopify app that you’re ready to enhance with live chat functionality.
Step 1: Install the Crisp SDK
First, you’ll want to install Crisp’s JavaScript SDK. This is Crisp's official SDK.
npm install crisp-sdk-webStep 2: Create a Crisp Chat Component
Now, here’s where the magic happens. We will create a simple React component that initializes Crisp when it’s mounted. This part felt a bit like a lightbulb moment for me—keeping it modular in a component just makes it so much easier to manage.
import { useEffect } from "react";
import { Crisp } from "crisp-sdk-web";

const CrispChat = () => {
  useEffect(() => {
    Crisp.configure("YOUR_CRISP_WEBSITE_ID"); // Replace with your Crisp website ID
  }, []);

  return null;
};

export default CrispChat;
Don’t forget to replace "YOUR_CRISP_WEBSITE_ID" with your actual Crisp website ID. It’s the key to linking your app with your Crisp account. You can extract it from the HTML snippet they provide for adding to the <header> tag where available.

Step 3: Include the Crisp Chat Component in Your App
Next, you must ensure the CrispChat component is included in your app’s layout or root component. This guarantees that the chat widget loads on every page of your Shopify app.
Here’s how I did it in the root.tsx (or app.tsx) file of my Remix app:
import CrispChat from "./components/CrispChat";

function App() {
  return (
    <html lang="en">
      <head>
        {/* Head content */}
      </head>
      <body>
        <CrispChat />
        {/* Other app components */}
      </body>
    </html>
  );
}

export default App;
By adding <CrispChat /> here, you ensure that the widget is always visible. The root route renders on all pages of your app, so it’s a good place to include global components like this.
Optional: Render Chat Widget only on Authenticated Pages
If your app isn't an embedded Shopify app, you might want to restrict the chat widget to authenticated users only. Here's how you can modify the App component to render the CrispChat component only when the user is authenticated:
import { useLoaderData } from "@remix-run/react";
import CrispChat from "./components/CrispChat";
import { getSession } from "./utils/session";

export async function loader({ request }) {
  const session = await getSession(request.headers.get("Cookie"));
  const user = session.get("user");
  return { user };
}

function App() {
  const { user } = useLoaderData();

  return (
    <html lang="en">
      <head>
        {/* Head content */}
      </head>
      <body>
        {/* Render CrispChat only if user is authenticated */}
        {user && <CrispChat />}
        {/* Other app components */}
      </body>
    </html>
  );
}

export default App;
In this example:
- We use a
loaderfunction to fetch the user session. - The
CrispChatcomponent only renders ifuserexists, meaning the user is authenticated.
This way, the chat widget is only displayed to logged-in users, adding an extra layer of security and relevance to its usage.
Optional: Tag Your Conversations
To enhance customer support, you can tag conversations with specific user data, such as their email or shop name. This helps you keep track of who you're talking to and can streamline follow-up conversations.
Here’s how you can pass user information from your loader function and send it to Crisp:
import { useEffect } from "react";
import { Crisp } from "crisp-sdk-web";
import { useLoaderData } from "@remix-run/react";

export default function CrispChat() {
  const { user } = useLoaderData(); // Retrieve user data

  useEffect(() => {
    // Initialize Crisp with your website ID
    Crisp.configure("YOUR_CRISP_WEBSITE_ID");

    // Set user information for tagging conversations
    Crisp.user.setEmail(user.email ?? "unknown@example.com");
    Crisp.user.setNickname(user.name ?? "Unknown User");

    // Optionally, add custom session data
    Crisp.session.setData({
      userId: user.id,
      userRole: user.role,
    });

    // Optionally, send a preset message after a delay
    const chatTimer = setTimeout(() => {
      Crisp.message.setMessageText("Hi! How can we assist you today?");
      Crisp.chat.open(); // Auto-opens chat for proactive engagement
    }, 120000); // Delay of 2 minutes

    return () => clearTimeout(chatTimer); // Cleanup on unmount
  }, [user]);

  return null; // No visual rendering needed
}
Tag your conversations with user information
In this example:
- User information such as email and name is passed to Crisp for tagging.
- A default message is sent to the chat after a 2-minute delay, proactively engaging the user.
Step 4: Verify the Integration
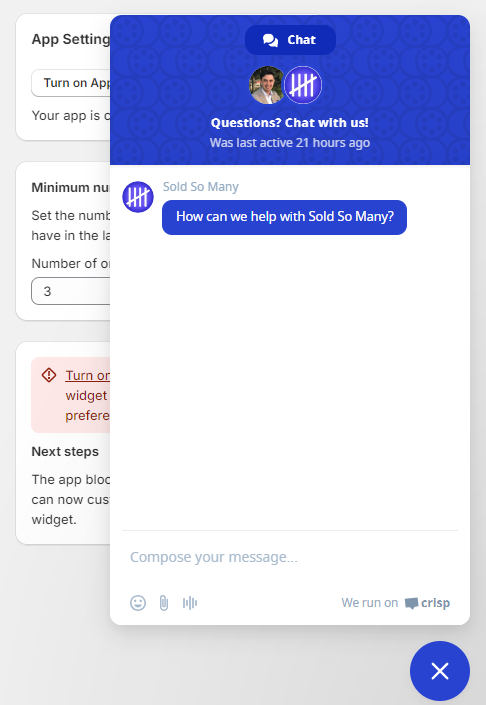
Now, the moment of truth. After deploying your app (or running it locally), open it in a browser and see if the Crisp chat widget pops up in the bottom-right corner. It’s always a great feeling when you see it working after setting it up.

Troubleshooting
If you run into trouble (and we all do from time to time), here are a couple of tips:
- Verify that you’ve correctly replaced the placeholder
YOUR_CRISP_WEBSITE_ID. - Make sure you placed the component in the correct
root.tsxfile.
Sold So Many: Powered by Crisp for Seamless Support
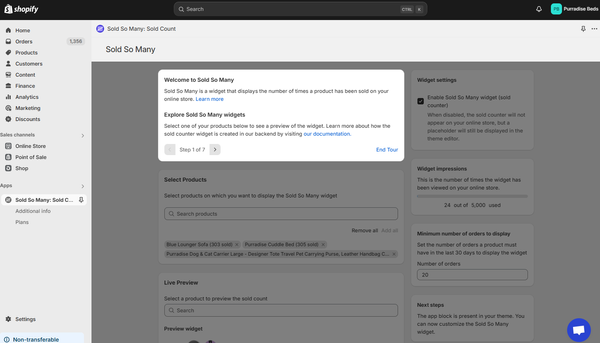
At Sold So Many, we’re committed to providing exceptional support for our users. That’s why we’ve integrated Crisp into our app, ensuring you can reach out to us easily whenever you need assistance. Whether you have questions about app features or have an issue, our support team is just a message away.
Conclusion
I hope this guide saves you some time and headaches. If you run into any snags, don’t hesitate to consult the Crisp documentation or contact their support team. If you have any questions or feedback on this guide, I’d love to hear from you. Happy coding!


